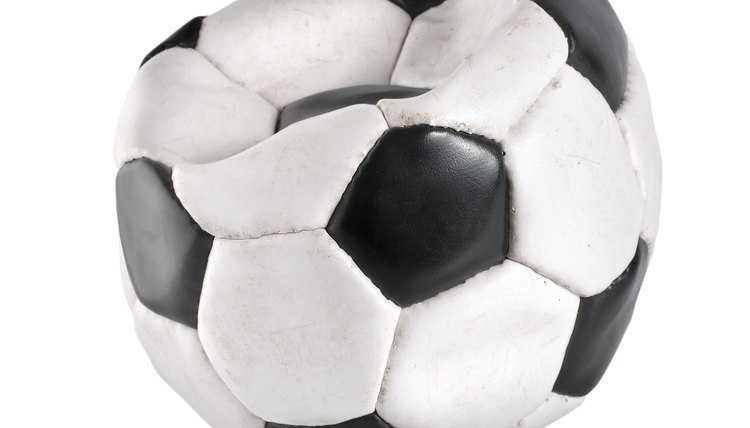
How to Fix Leaks in Sports Balls

While inflatable sports balls are crafted to withstand rough treatment and conditions, damage occasionally occurs that may lead to a leak in the ball or the valve that affects the integrity and usability of the orb. When a leak occurs in your soccer ball, football, basketball or volleyball, there are simple steps to mend it before giving up on the ball completely. Acting quickly to repair a ball leak will lengthen its life and get you right back to the field or court.
Locate the Leak
Inflate the ball using a ball inflator or pump. Submerge the ball in a bucket filled with water. Look for any bubble streams coming out of the ball to identify leaks and leak locations. Note that bubbles coming from the seams may be coming from the space between the ball’s panel and bladder, and not necessarily a leak. Those bubbles will stop once the trapped air is released. Continuous bubbles signify a leak. Mark the ball where leaks are present.
Valve Leak Repair
If bubbles emanate from the center of the valve, the ball has a defective valve. First, attempt to clean the valve with a wet inflating needle inserted a few times to wash away dirt and debris. If the leak persists, replace the valve with a new, compatible valve. Remove the valve according to the ball model's instructions. Soak a compatible new valve in soapy water. Insert the new valve into the opening of the ball and screw it tightly into place. Inflate the ball and leave it for 24 hours to ensure leaking does not continue and the valve is secure.
Surface Leak Repair
If the leak was emanating from the surface of the ball, there is likely a small puncture in the bladder and/or surface causing the leak. To mend this leak, inflate the ball until it is about 75 percent full. Use a ball repair sealant that can be found at your local sporting goods store. Wet the sealant can’s insertion needle with water, then push it all the way into the valve. Spray the repair sealant into the ball for five to six seconds. Inflate the ball fully. Bounce the ball 10 times to allow the sealant to be distributed evenly on the inside of the ball's bladder, then let the ball sit for an hour with the leak location facing the ground to allow the sealant to settle. Retest for leaks by submerging in water to locate any additional leaks and test the sealant.
Alternative Repair Methods
Another option for repairing a surface leak without a sealant is through heat. Heat the blade of a knife or screwdriver by moving it back and forth over a flame. Rub the blade over the leaky area until the vinyl melts. Let the vinyl harden for at least five minutes. Reinflate the ball and test for leaks again. Bicycle tire tube patch kits can also be used to repair a leaking sports ball. These can be purchased at a local bicycle shop or sporting goods store. Follow the instructions provided in the tube patch kit.
References
Writer Bio
Based in Annapolis, Md., Kate Hickman has been involved with sports management since graduating from Vanderbilt University in 2006. Author of a holistic recruiting manual for high school athletes, a monthly e-publication through her business, Balance Lacrosse, and a monthly contributor to Lacrosse Magazine, Hickman has a thorough understanding of all things sports.
